Google Sheets Tutorial
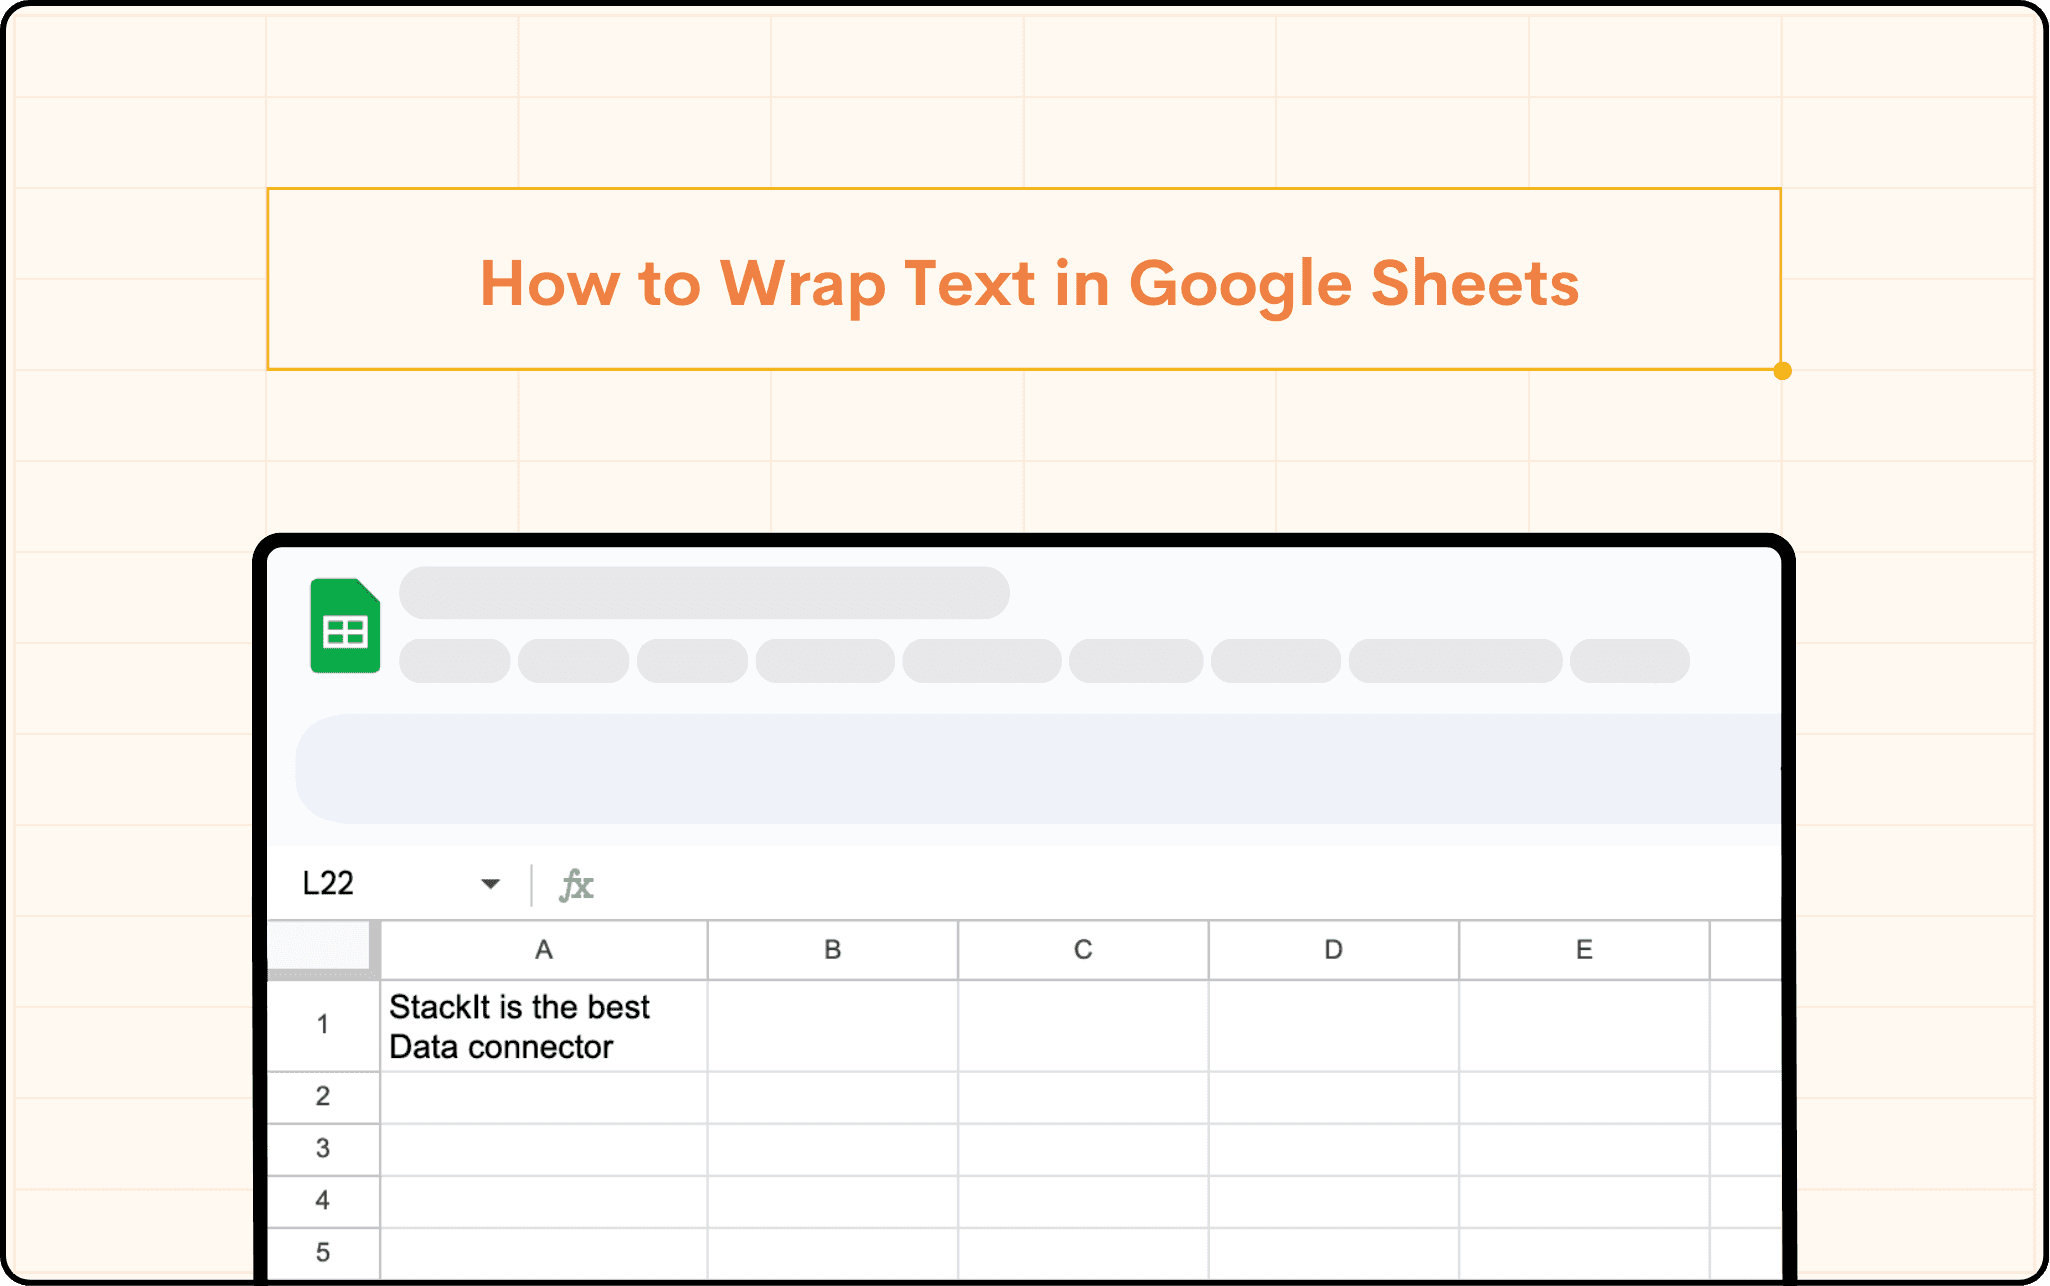
How to Wrap Text in Google Sheets
This detailed guide provides a deep dive into how to wrap text in Google Sheets.
Table of Contents


Text wrapping in Google Sheets is essential for preventing text overflow, which can disrupt the layout and clarity of your data. Whether you are compiling a large dataset or preparing a report, Understanding how to wrap text in Google Sheets ensures that your content fits neatly within each cell, making your spreadsheets cleaner and drastically improving the usability of your document. Here, we will explore several methods to wrap text in Google Sheets, including detailed steps and tips to enhance your ability to manage large quantities of information effectively.
TOP 5 Methods to Wrap Text in Google sheets
Understanding how to wrap text in Google Sheets is essential for anyone working with data-heavy files. Here are some straightforward methods to get started.
Basic Text Wrapping Techniques
Method 1: Format Menu Wrapping
One of the simplest ways to initiate Google Sheets wrap text functionality is through the Format menu.
Steps:
Click to highlight the cells you want to be adjusted.
Click on Format in the top menu bar.
Select Wrapping and then Wrap.
This action configures Google Sheets to automatically adjust the cell’s height to fit all text, ensuring that everything is visible without changing the cell width.
Method 2: Using the Toolbar for Text Wrapping
The toolbar method provides a quick and user-friendly way to apply text wrapping in Google Sheets.
Steps:
Select the cells where text needs to be wrapped.
Click on the Text wrapping icon in the toolbar—a symbol showing text breaking over two lines.
Choose Wrap from the dropdown options to apply. This will wrap your text instantly.
Method 3: Keyboard Shortcut for Specific Wrapping
For those who prefer shortcuts, Google Sheets offers an efficient way to wrap text using a simple keyboard command.
Steps:
Open your sheet and click into the cell where text wrapping is desired.
Click where you want the break, hold ALT, and press Enter. This adds a manual line break at that point, allowing for customized text wrapping.
This method is perfect for precise text management, allowing you to control exactly where your text wraps.
Advanced Text Wrapping Techniques
For more complex needs, such as scripting and automation, Google Sheets provides powerful tools.
Method 4: Automating Text Wrapping with Macros
Google Sheets macros can streamline how you wrap text, making it a one-click operation for repeated use. Using macros we can automate text-wrapping processes, making repetitive tasks much more manageable
Steps:
Prepare the Cells: Choose the range you frequently work with.
Record a Macro: Navigate to Extensions > Macros > Record Macro, and perform the wrap text action.
Wrap the Text: Adjust the settings to wrap the text as needed and click Save.
Finalize the Macro: Name your macro, assign a shortcut key, and confirm the creation. This macro can then be used across your documents.
Method 5: Custom Scripts with Google Apps Script
For ultimate control over text wrapping, using Google Apps Script allows you to tailor text wrapping behaviors across your spreadsheets. You can use Google Apps Script for extensive customization and automation beyond simple text wrapping.
Steps:
Access Apps Script: From Extensions > Apps Script, open the script editor.
Implement the Script: Copy and paste the script below, modifying the range as needed.
Script:
function customWrapText() {
 var sheet = SpreadsheetApp.getActiveSpreadsheet().getActiveSheet();
 var range = sheet.getRange('A1:A10');
 range.setWrap(true); // Applies text wrap to cells A1 through A10
Execute: Run the script to apply custom text wrapping settings.
Optimization Tips for Using Wrap Text Google Sheets Feature
Uniform Formatting: Consistently use the wrap text Google Sheets feature across all relevant cells to maintain a clean layout.
Column and Row Adjustment: Make sure to adjust the dimensions of your cells to fit the wrapped text, avoiding overly condensed or stretched appearances.
Strategic Line Breaks: Place manual line breaks in optimal locations to maximize the effectiveness of your text wrapping, especially in cells with large amounts of text.
Whether you're using basic tools or advanced scripts, the ability to wrap text effectively can make a significant difference in the presentation and usability of your spreadsheets. Implement these techniques to ensure your data is always clear, accessible, and professionally formatted, making your work with Google Sheets more productive and visually appealing.
Say goodbye to tedious data exports! 🚀
Are you tired of spending hours manually exporting CSVs from different tools and importing them into Google Sheets?
StackIt is a data connector for Google Sheets that connects your favorite SaaS tools to Google Sheets automatically. You can get data from these platforms into Google Sheets automatically to build reports that update automatically.
Bid farewell to tedious exports and repetitive tasks. With StackIt, you can add 1 additional day to your week. Try StackIt out for free or schedule a demo.
FAQs
What are the differences between the Wrap, Overflow, and Clip text options in Google Sheets?
What are the differences between the Wrap, Overflow, and Clip text options in Google Sheets?
Is there a way to automatically wrap text in all new cells in a Google Sheet?
Is there a way to automatically wrap text in all new cells in a Google Sheet?
How can I unwrap text in Google Sheets if I change my mind?
How can I unwrap text in Google Sheets if I change my mind?
Automatic Data Pulls
Visual Data Preview
Set Alerts
other related blogs
Try it now

